Chapter 3
Note: Your browser must support animated GIF images in order to properly display this page.
Sample Project:
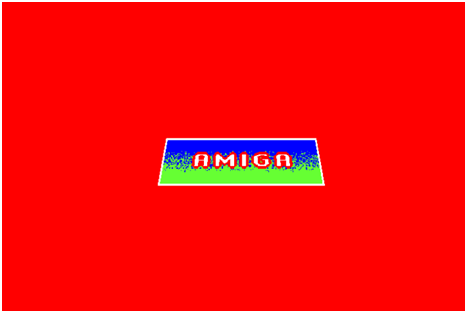
Below is the sample titling project from this chapter in its final form. Click the image to view the full animation.
The video clips below show this animation being created from scratch in Deluxe Paint III.
When we start Deluxe Paint III, we are given the opportunity to choose the screen mode we would like to work in. We select the highest of the original Amiga’s 4 standard resolution modes, 640 X 400. We may have up to 16 colors in this mode, but we only request 4 for this project. We turn on overscan mode to eliminate our screen’s border. This yields a final resolution of 704 X 480, the single highest possible resolution of which our machine is capable. Because we are using a North American machine, we select an NTSC display. The “Program Loading” option lets us choose to have DPaint keep only its currently active components in memory, reading in other pieces from disk as needed. This feature saves memory on machines without much of it, at an inevitable cost in execution speed. Since we have more than enough RAM installed to create this simple project, this option is not necessary for us.
We adjust the color palette to suit our needs. Note that when we access the menu bar, the palette is temporarily adjusted to make sure that the user interface is clearly legible. And note that when the colors have been changed, the standard user interface elements also change colors to a not-terribly-attractive effect. The Amiga can make no distinction between the art we are creating and the user interface used to create it; both are restricted to the same 4 colors.
By default DPaint assumes that we are just creating a single picture. We wish, however, to create an animation. We tell DPaint that we wish to have 30 frames. We now effectively have 30 individual pictures available to edit as we choose, each representing one frame of the completed animation. We jump to the very last of these. Notice the very brief delay when we do so. DPaint stores the first frame of the animation only in its complete form. Each frame thereafter is generated by applying only the changes from the previous frame to the next, saving huge amounts of memory and disk space. This approach does mean, however, that when we request to access a certain frame for editing that frame must be reconstructed by stepping through every frame before it. Of course, all of those frames are currently blank, so the process is a very quick one, at least for now.
We select a font and enter some text into the picture, using a process that will look familiar to anyone who has used a more recent paint program.
We create a rectangle, again using some very familiar tools. We perform a gradient flood fill on the rectangle, meaning that the filled area fades from solid blue at the top to solid green at the bottom, with the middle section a mishmash of the two colors. In this digital video, the pixels in this section remain distinct, but on older, analog display hardware such as a VCR connected to a television, they would have much more of a tendency to bleed into one another. This technique, known as dithering, facilitates an illusion of more colors than just our basic 4.
We cut our bit of text out from the background. DPaint now considers it to be a brush. The techniques we follow are superficially similar to cutting and pasting on a modern paint program, but DPaint allows us to do some surprisingly sophisticated operations in the process. Because we have defined red as the background color, it is taken to be transparent within the brush, meaning we can stamp just the letters down over our rectangle. We can also add other effects to the brush. Here we give the text a red border to make it stand out more before we stamp it into position. Finally we pick up the whole graphic as another brush and center it on the screen.
Deluxe Paint III’s animation components would be of very little utility if we had to draw each frame by hand. Luckily, it provides us with plenty of tools to automate the task. Here it automatically generates an animation of our logo flying in from in front of and below the screen, rotating into its proper orientation as it does so, beginning on frame 2 and ending with the frame 30 we’ve just created by hand to guide its efforts. Note that we use the “Preview” function to quickly see a rough draft of our proposed animation, then make adjustments as needed. This function is a godsend because the actual process of generating a finished animation is, as we’re about to see, rather time consuming.
We must just wait patiently while DPaint creates our animation frame by frame. Our patience is rewarded when we see it in action. Do note that this video was taken using a stock 68000-based Amiga. By this time serious artists had access to much more powerful 68020 and 68030 processors that could speed up this process enormously.
We make a final adjustment, adding 70 more static frames to the end of the animation to give our viewers a chance to admire our logo. And we save our work.
The animation we just saved is available for downloading in its original format for those who’d like to play it on a real or emulated system, or tinker further with it.
A Deluxe Paint Art Gallery:
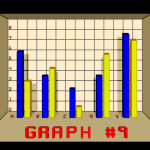
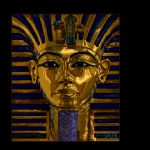
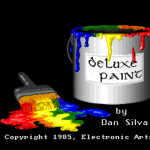
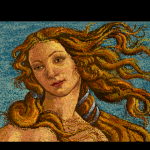
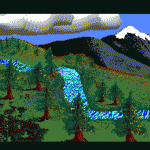
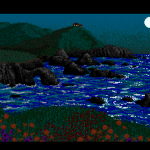
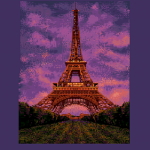
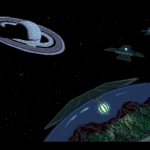
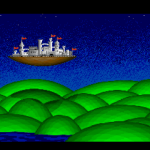
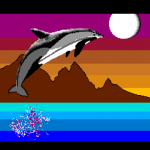
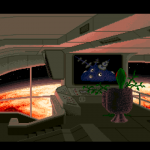
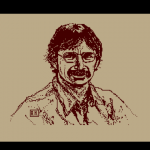
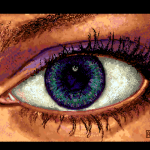
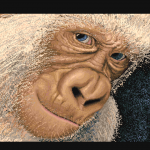
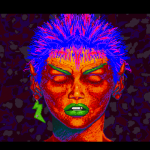
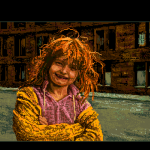
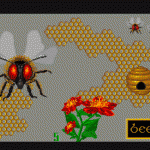
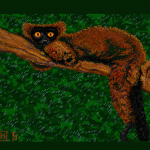
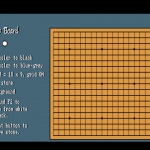
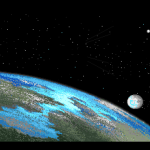
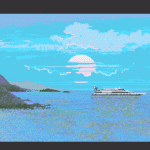
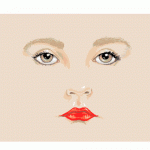
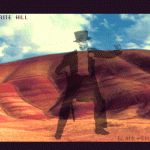
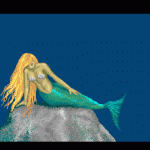
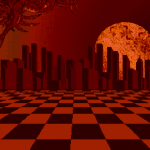
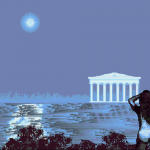
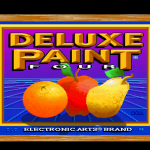
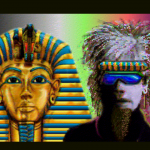
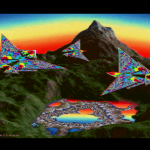
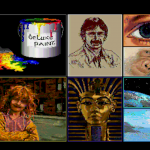
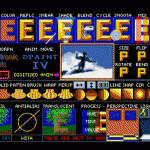
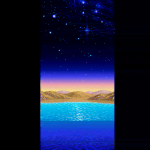
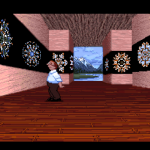
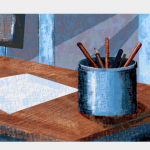
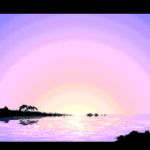
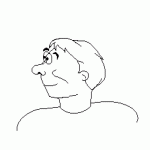
The images and animations below were distributed with the various versions of Deluxe Paint. Together they illustrate some of the variety of approaches and styles of Deluxe Paint artists and animators through the years. Click on the thumbnails to view the images at full size with animation (if any). (Note that some of the more complex animations may take a moment to load completely and begin running at full speed.)
 |
 |
 |
 |
 |
|
 |
 |
 |
 |
 |
 |
 |
 |
 |
 |
 |
 |
 |
 |
 |
 |
 |
|
 |
 |
 |
 |
 |
 |
 |
 |
 |
 |
 |
 |
 |
 |
 |
|
 |
 |
 |
|
 |
 |
 |
 |
 |
|

May 12, 2012 at 1:12 am
I once painted a really nice picture with Deluxe Paint when I was younger, but I lost it. It was the best and only painting I had done on a computer.
Thanks for writing the book; I’m enjoying it so far!
July 4, 2012 at 9:25 pm
Though I’ve never been an avid painter, the videos of DPaint brought back some fond memories. Its animation capabilities where rather astounding, not even taking into account its intuitiveness.
Thanks for the example pictures also, some of which I remember clearly to this day, especially Tut, the waterfall and the Ark.
December 30, 2015 at 4:33 am
You’re missing the guy on the unicycle juggling a square, circle and triangle (EA logo objects).
October 31, 2021 at 6:07 pm
I am just now finishing the book and am now wanting to watch these videos. Why are so many unavailable now?